My favourite April Fool’s stunt is not showing up to class. Unfortunately, this doesn’t work in a full-time job situation, so there’s not much to celebrate this year.
It’s the boyfriend’s birthday this week, so I’ve been baking up a storm at home – there’s a big post coming up over the weekend!
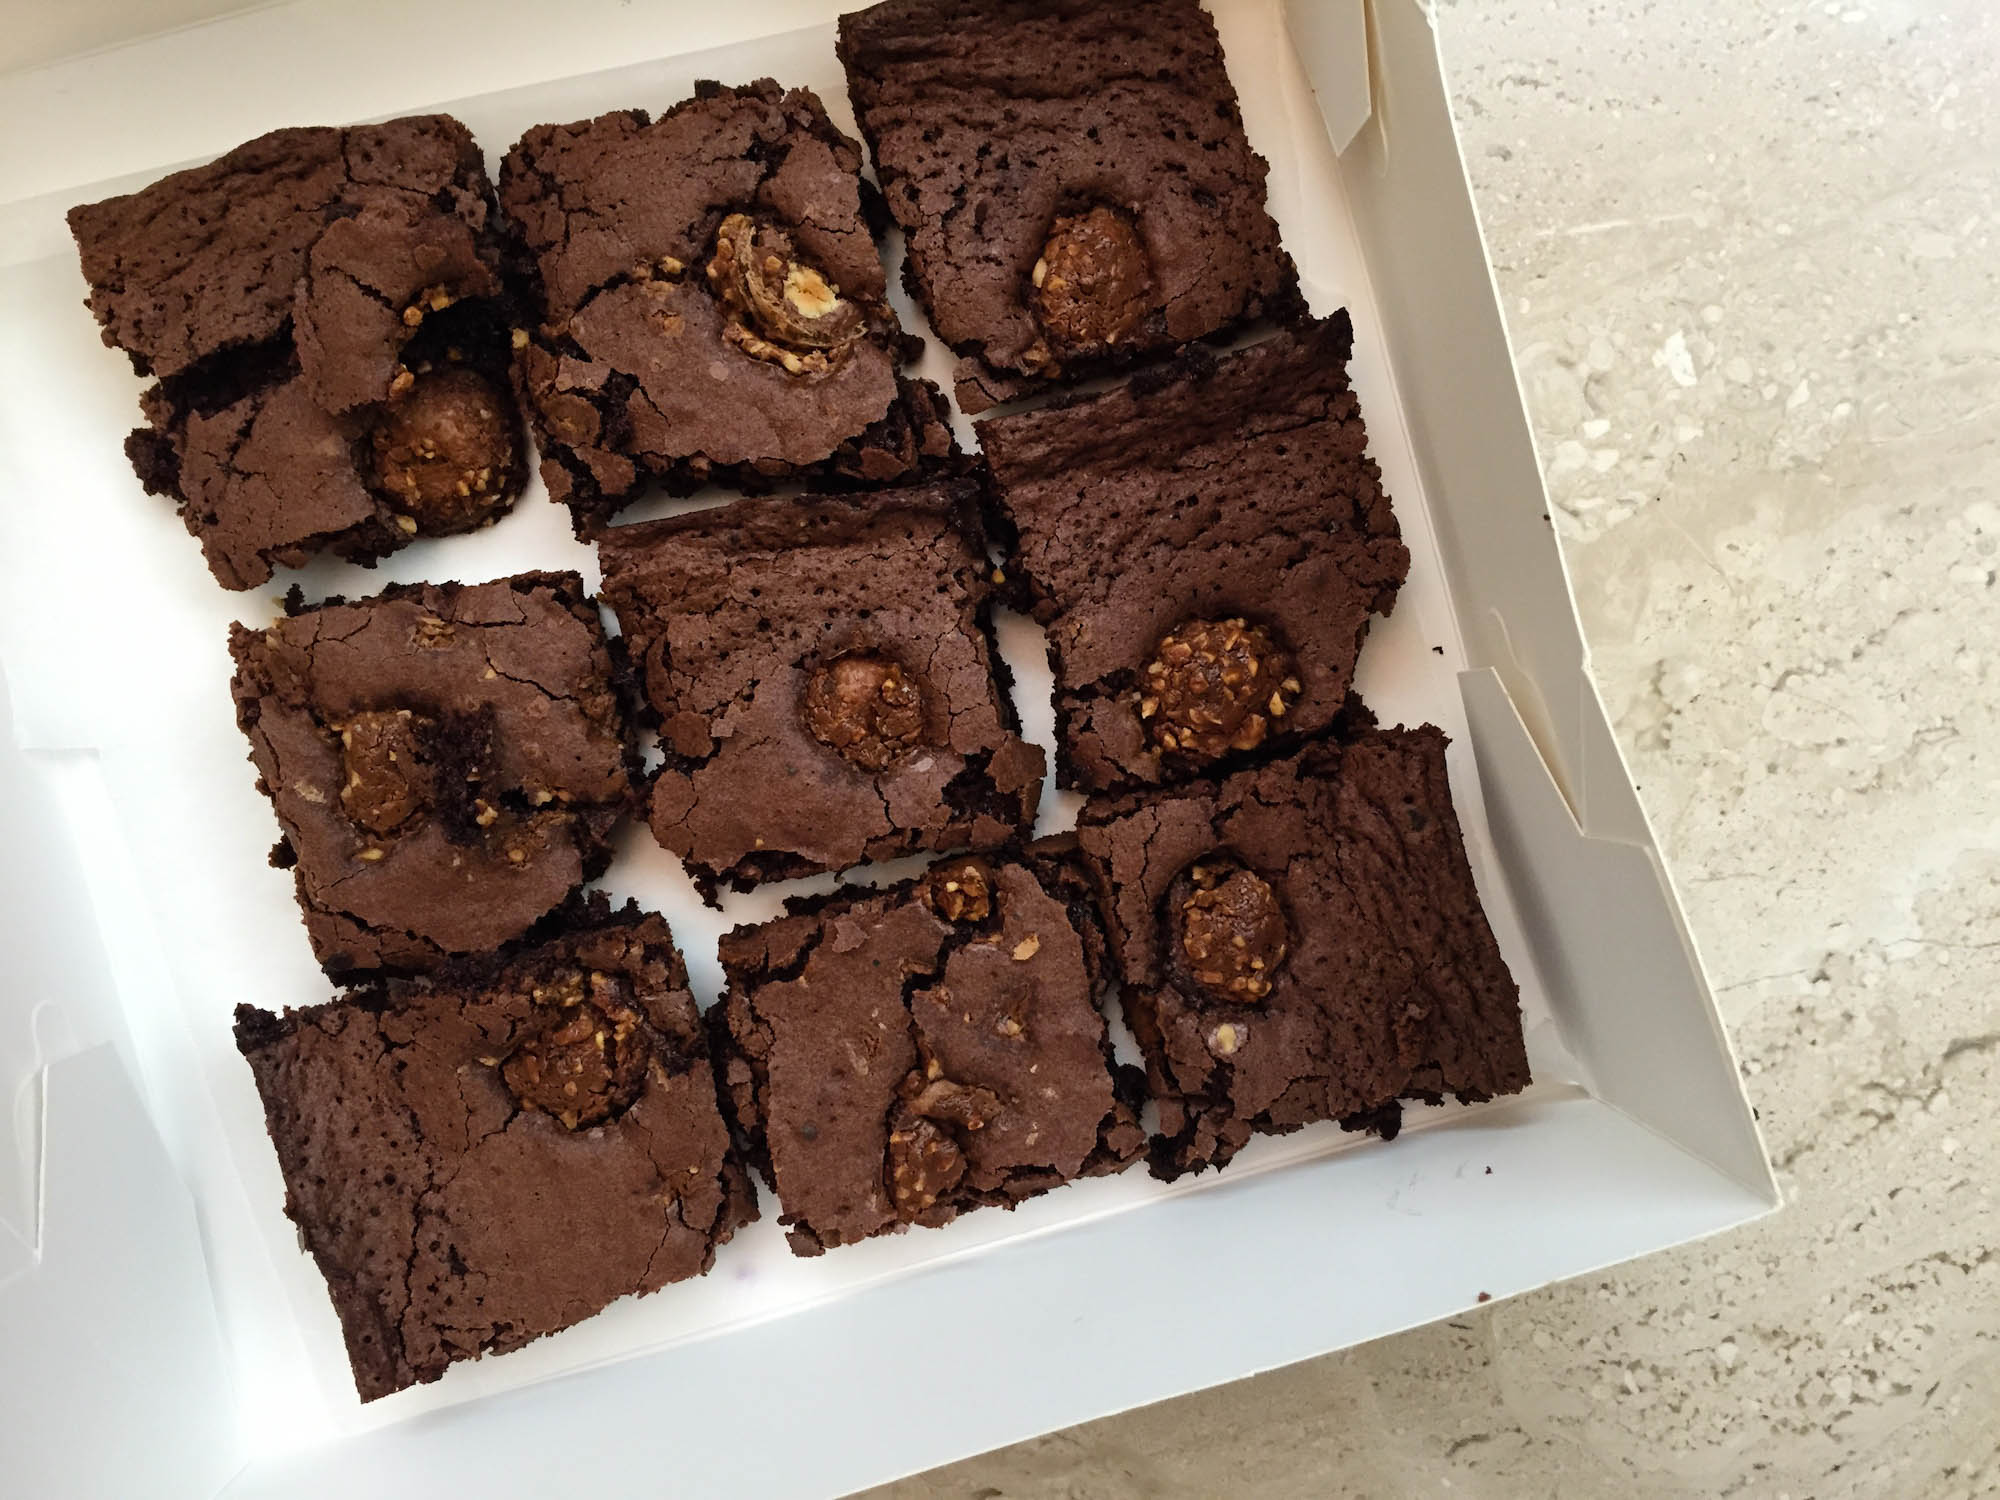
Anywho, I haven’t made brownies in years, but yesterday, I found the perfect brownie recipe. It’s perfect, full stop. And I kicked it up a notch with a cheeky sprinkling of Ferrero Rocher on top. Hello gooey chocolatey hazelnutty heaven.
Recipe (12 regular brownies)
- 1⁄2 cup vegetable oil
- 1 cup sugar
- 1 teaspoon vanilla extract or paste
- 2 large eggs
- 1⁄4 teaspoon baking powder
- 1⁄3 cup cocoa powder (I used Valrhona)
- 1⁄4 teaspoon salt
- 1⁄2 cup flour
- 4-6 Ferrero Rochers

Method
- Sieve together baking powder, cocoa powder, salt and flour.
- In a separate large bowl, vigorously stir together oil and sugar until blended. It will look like lemon sorbet when it’s done!
- Add the eggs and vanilla to the sugar mixture and give it a good stir until incorporated.
- Tip the dry ingredients into the wet mixture. Stir until it becomes a rich, thick batter.
- Grease your baking pan. Pour in the batter and spread evenly with a spatula.
- Here’s the fun bit! Cut up or crumble the Ferrero Rochers and sprinkle over the top of the batter. I only used about 4 but it was plenty.
- Bake at 160C for about 18 minutes. You might want to take it out around 15 minutes if you want it very gooey.
- Hold your horses and let it cool before you dig in with plenty of milk.


I love these brownies. They are ridiculously easy to make and so chewy, especially around the edges! The Ferrero Rocher gives it a nice hazelnutty kick. Next time I’ll add in some nuts for extra crunch as well!

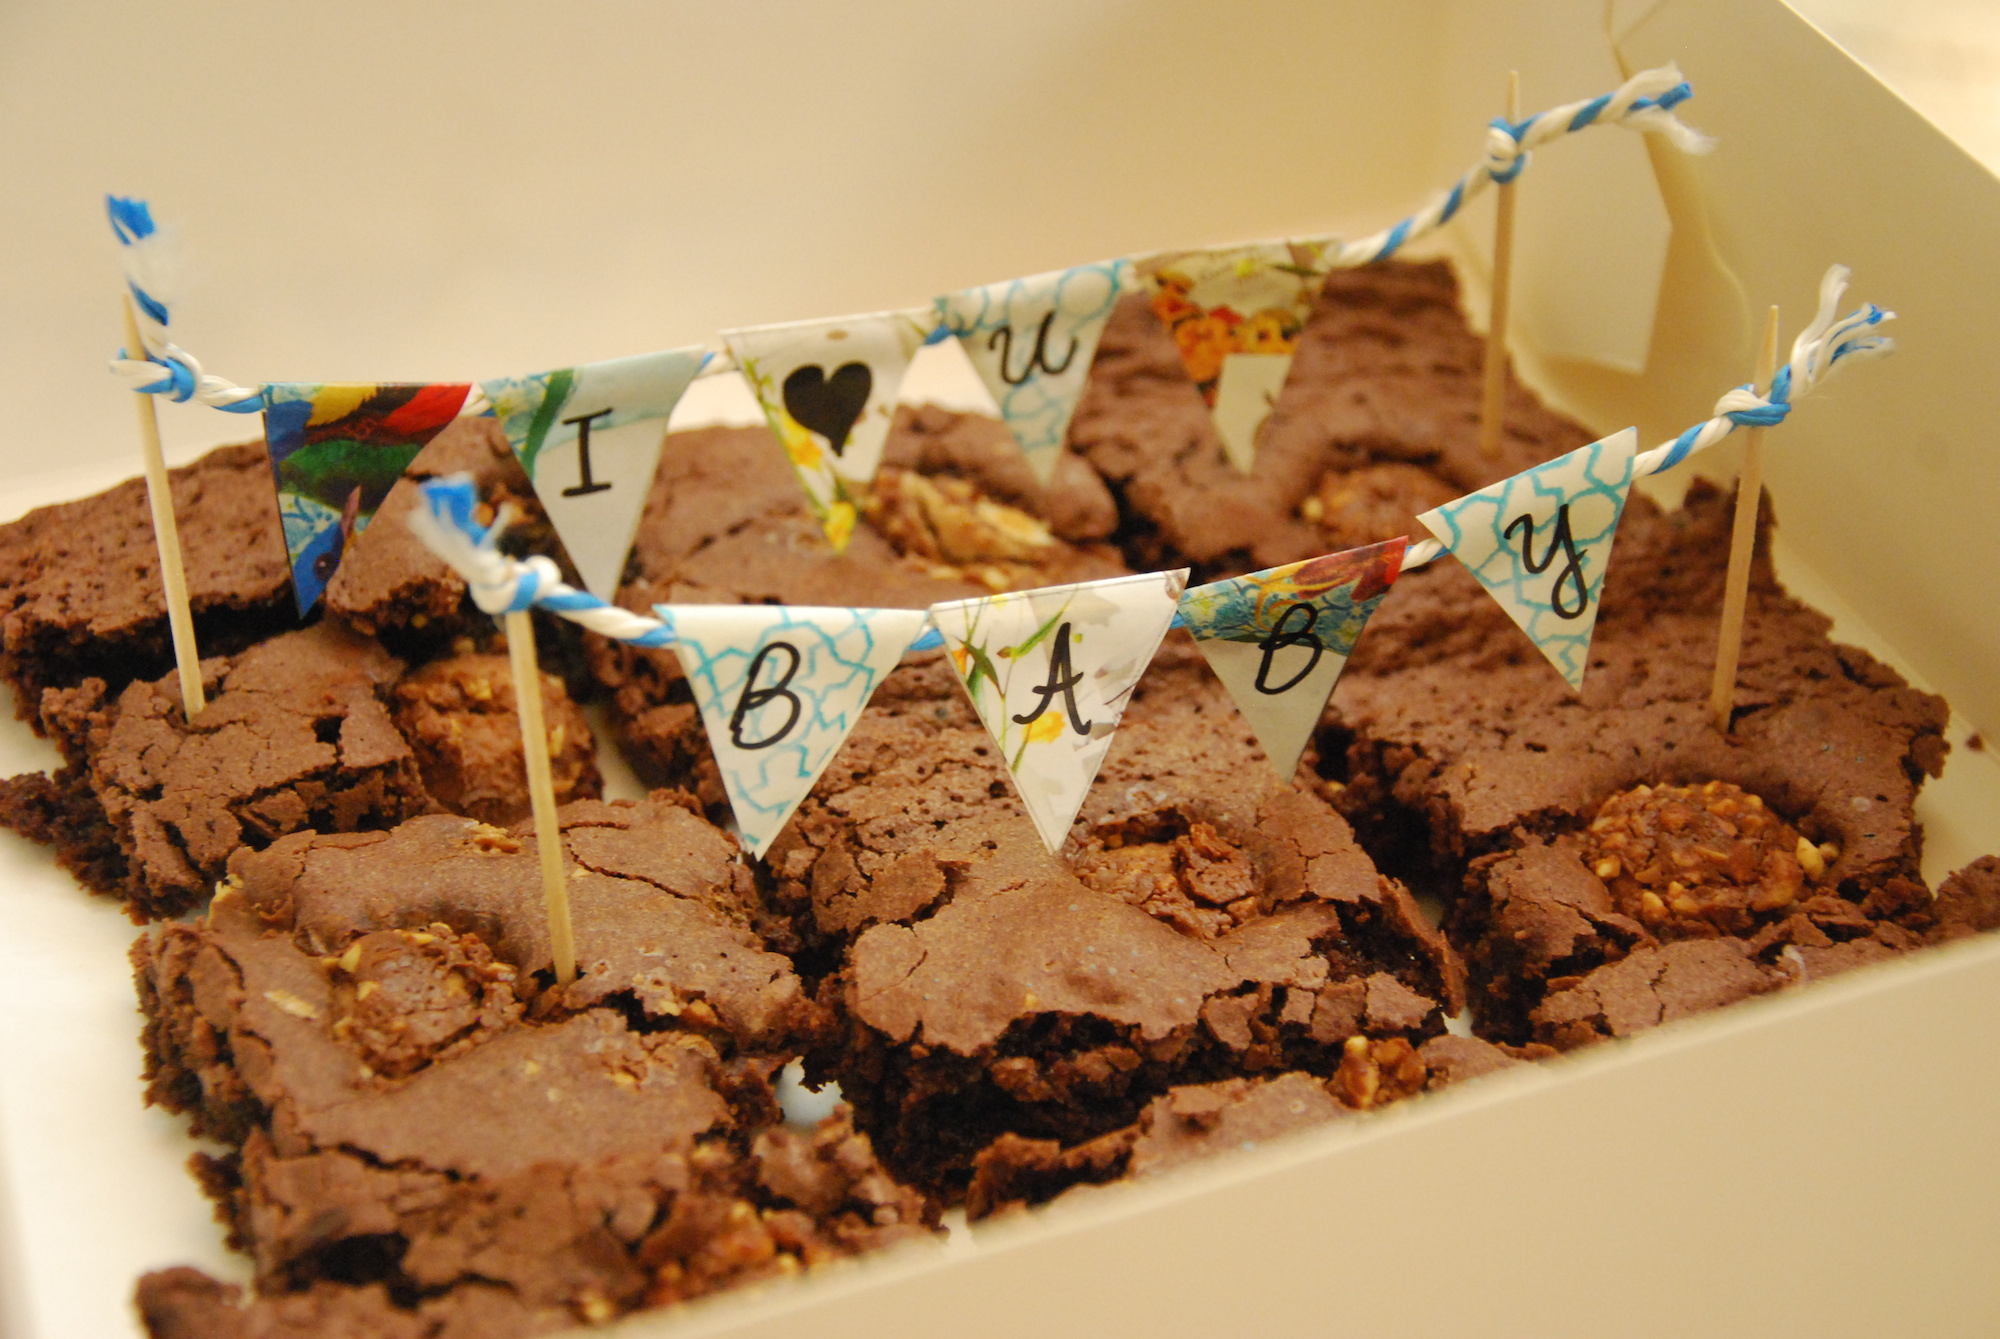
Since these are birthday brownies, I took it further with some DIY cute birthday bunting. It’s so easy to do!
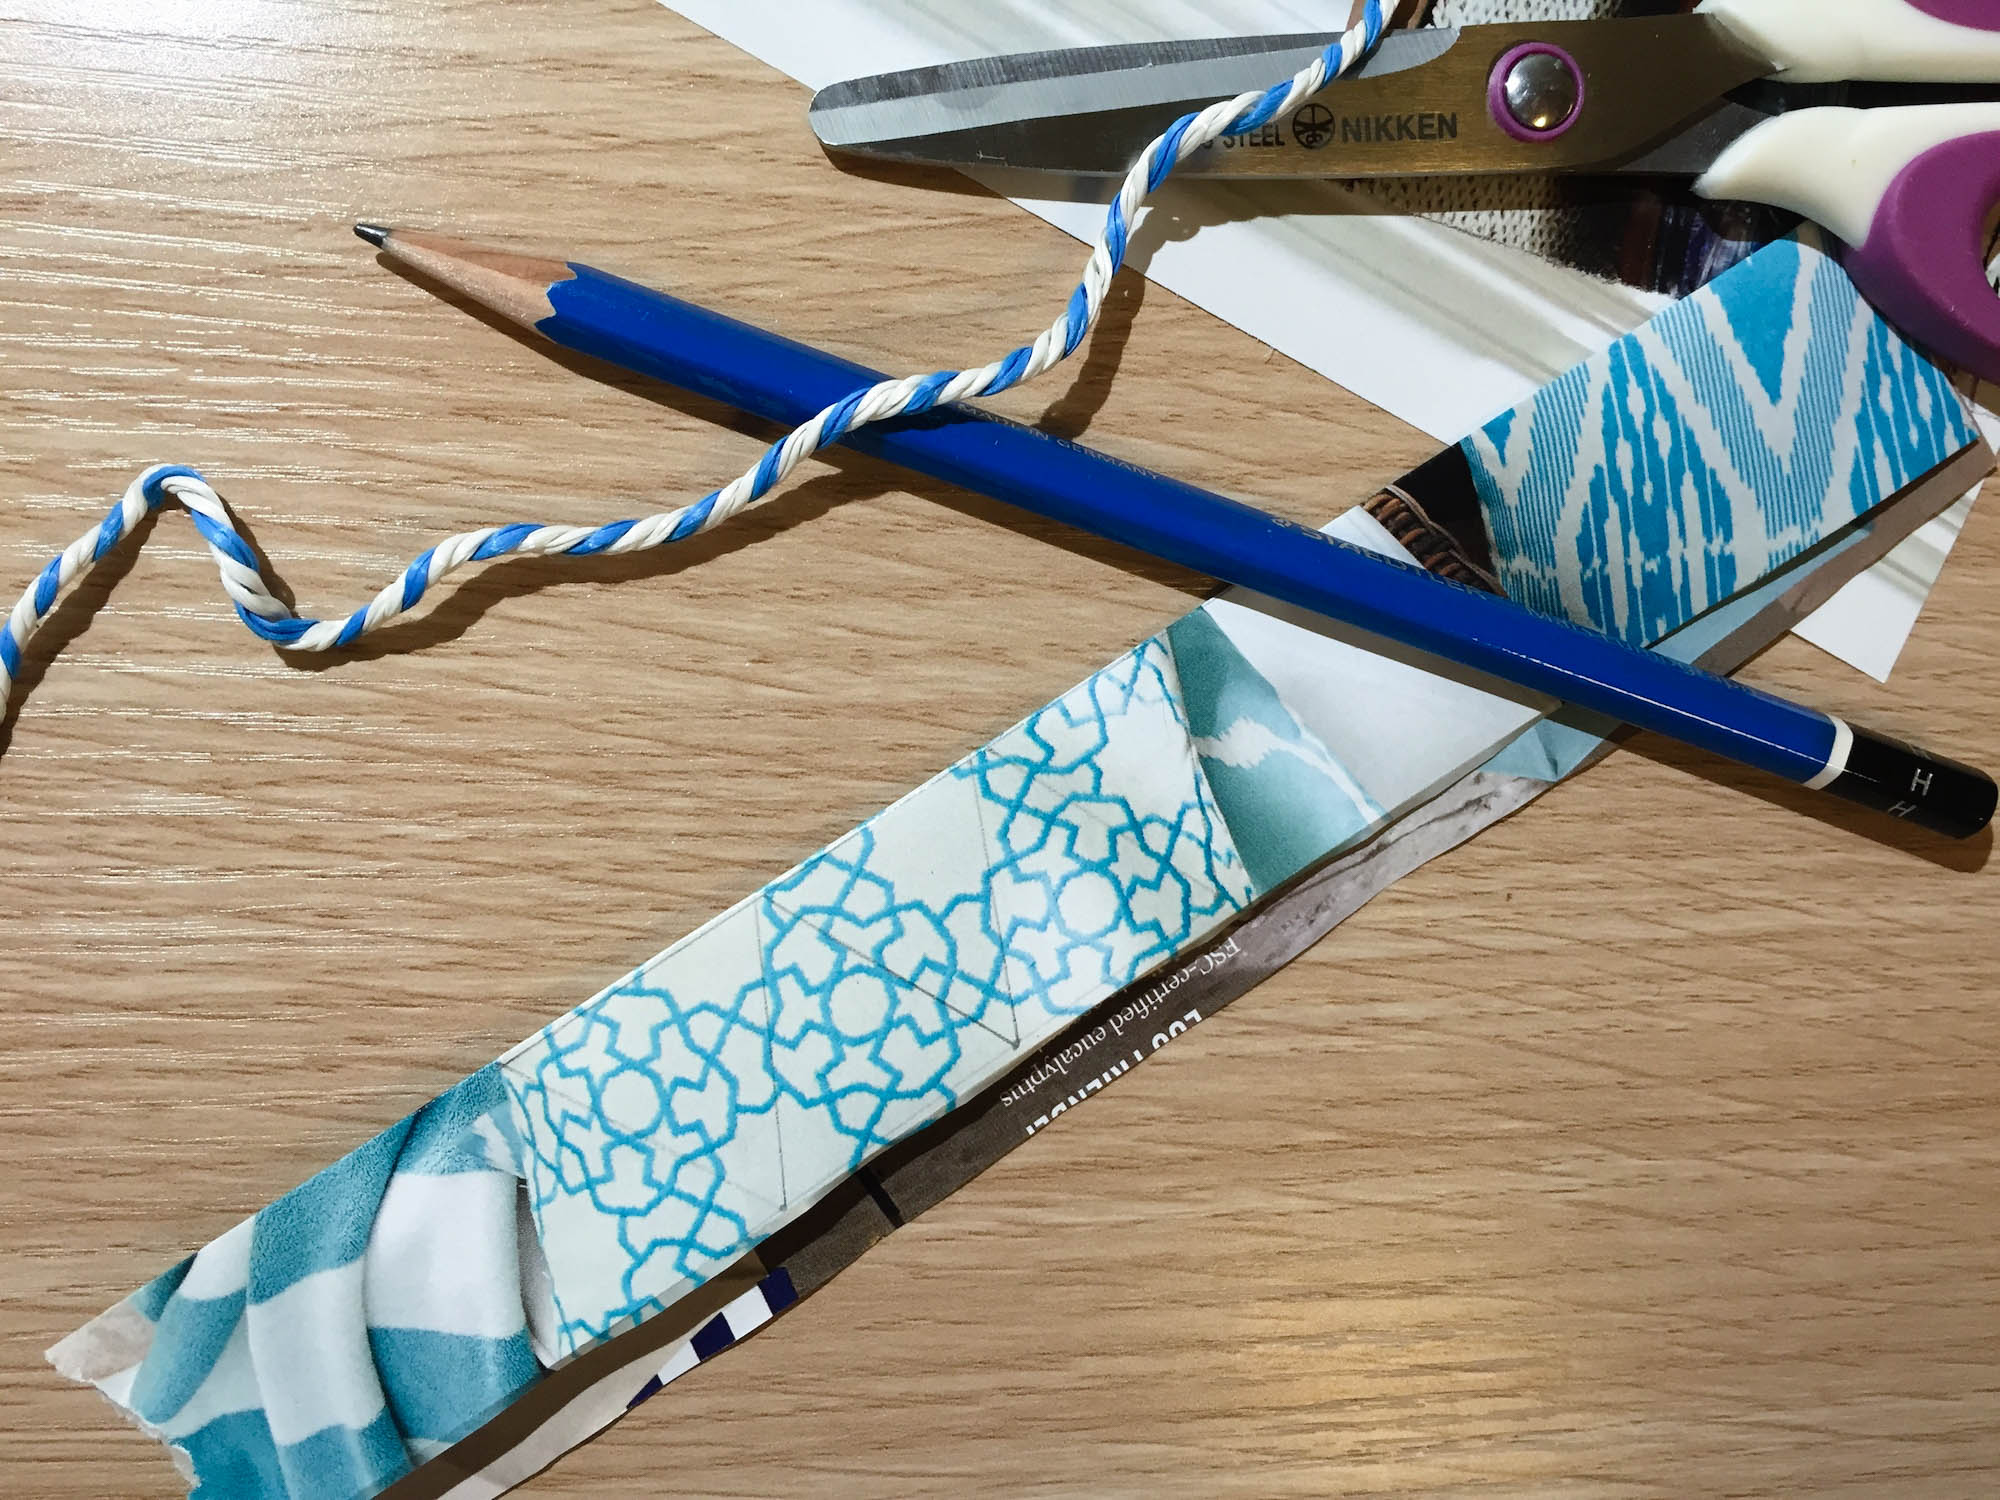
What you need
- String
- Toothpicks
- Old magazine pages

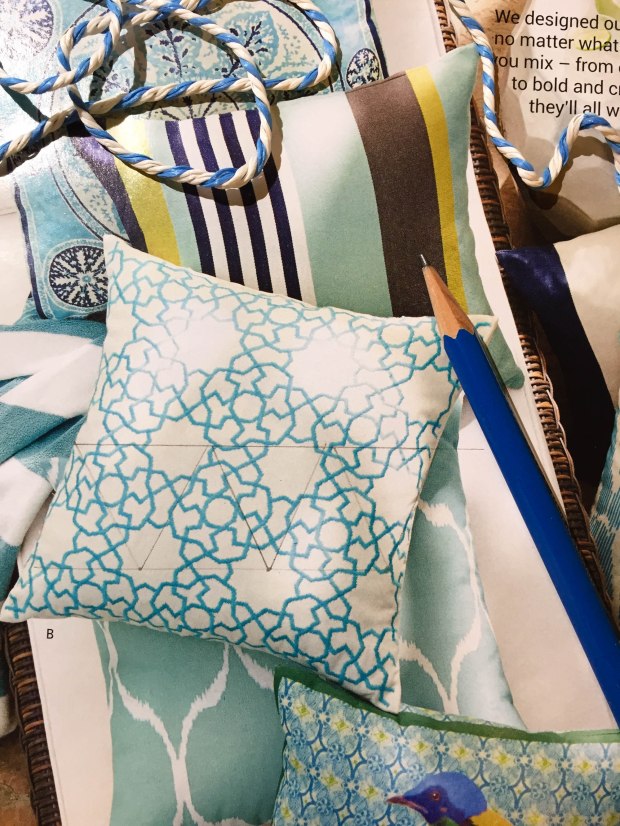
I just got a gorgeous Pottery Barn summer catalogue in the mail, and it’s a goldmine for colourful patterns for the bunting!
Very simply, draw 2 parallel lines across a print you like. Draw triangles between the lines. When you’re done, fold the paper along the base of the triangles. Then simply cut out the triangles, and you have your bunting!
Write on the bunting should you want to, position them on the string, and glue together the pointy end. Tie the string to the toothpicks, and set them on the brownies. Ta-da!